Hello everyone, welcome back.
Today we are going to create a shader for Ice lake using visual shader and for the tutorial, I will be using Godot 4.2 but you could also use 4.1, it will work just fine.
Okay so for the effect, we will use a technique called Parallax mapping and before we can understand what is parallax mapping we need to learn about the parallax effect.
So what is parallax effect?
"Parallax is a displacement or difference in the apparent position of an object viewed along two different lines of sight and is measured by the angle or half-angle of inclination between those two lines."
Very complicated so I will give you an example, let’s say you are sitting in a car and you look out the window, you will get the feeling that the object that are further away are moving slower than the closer ones.
That feeling or illusion is called a Parallax and a technique to recreate that feeling in Computer graphics is called parallax mapping!
Obviously we will not write our custom algorithm for that, but we should know about Parallax mapping.
Visual Shader
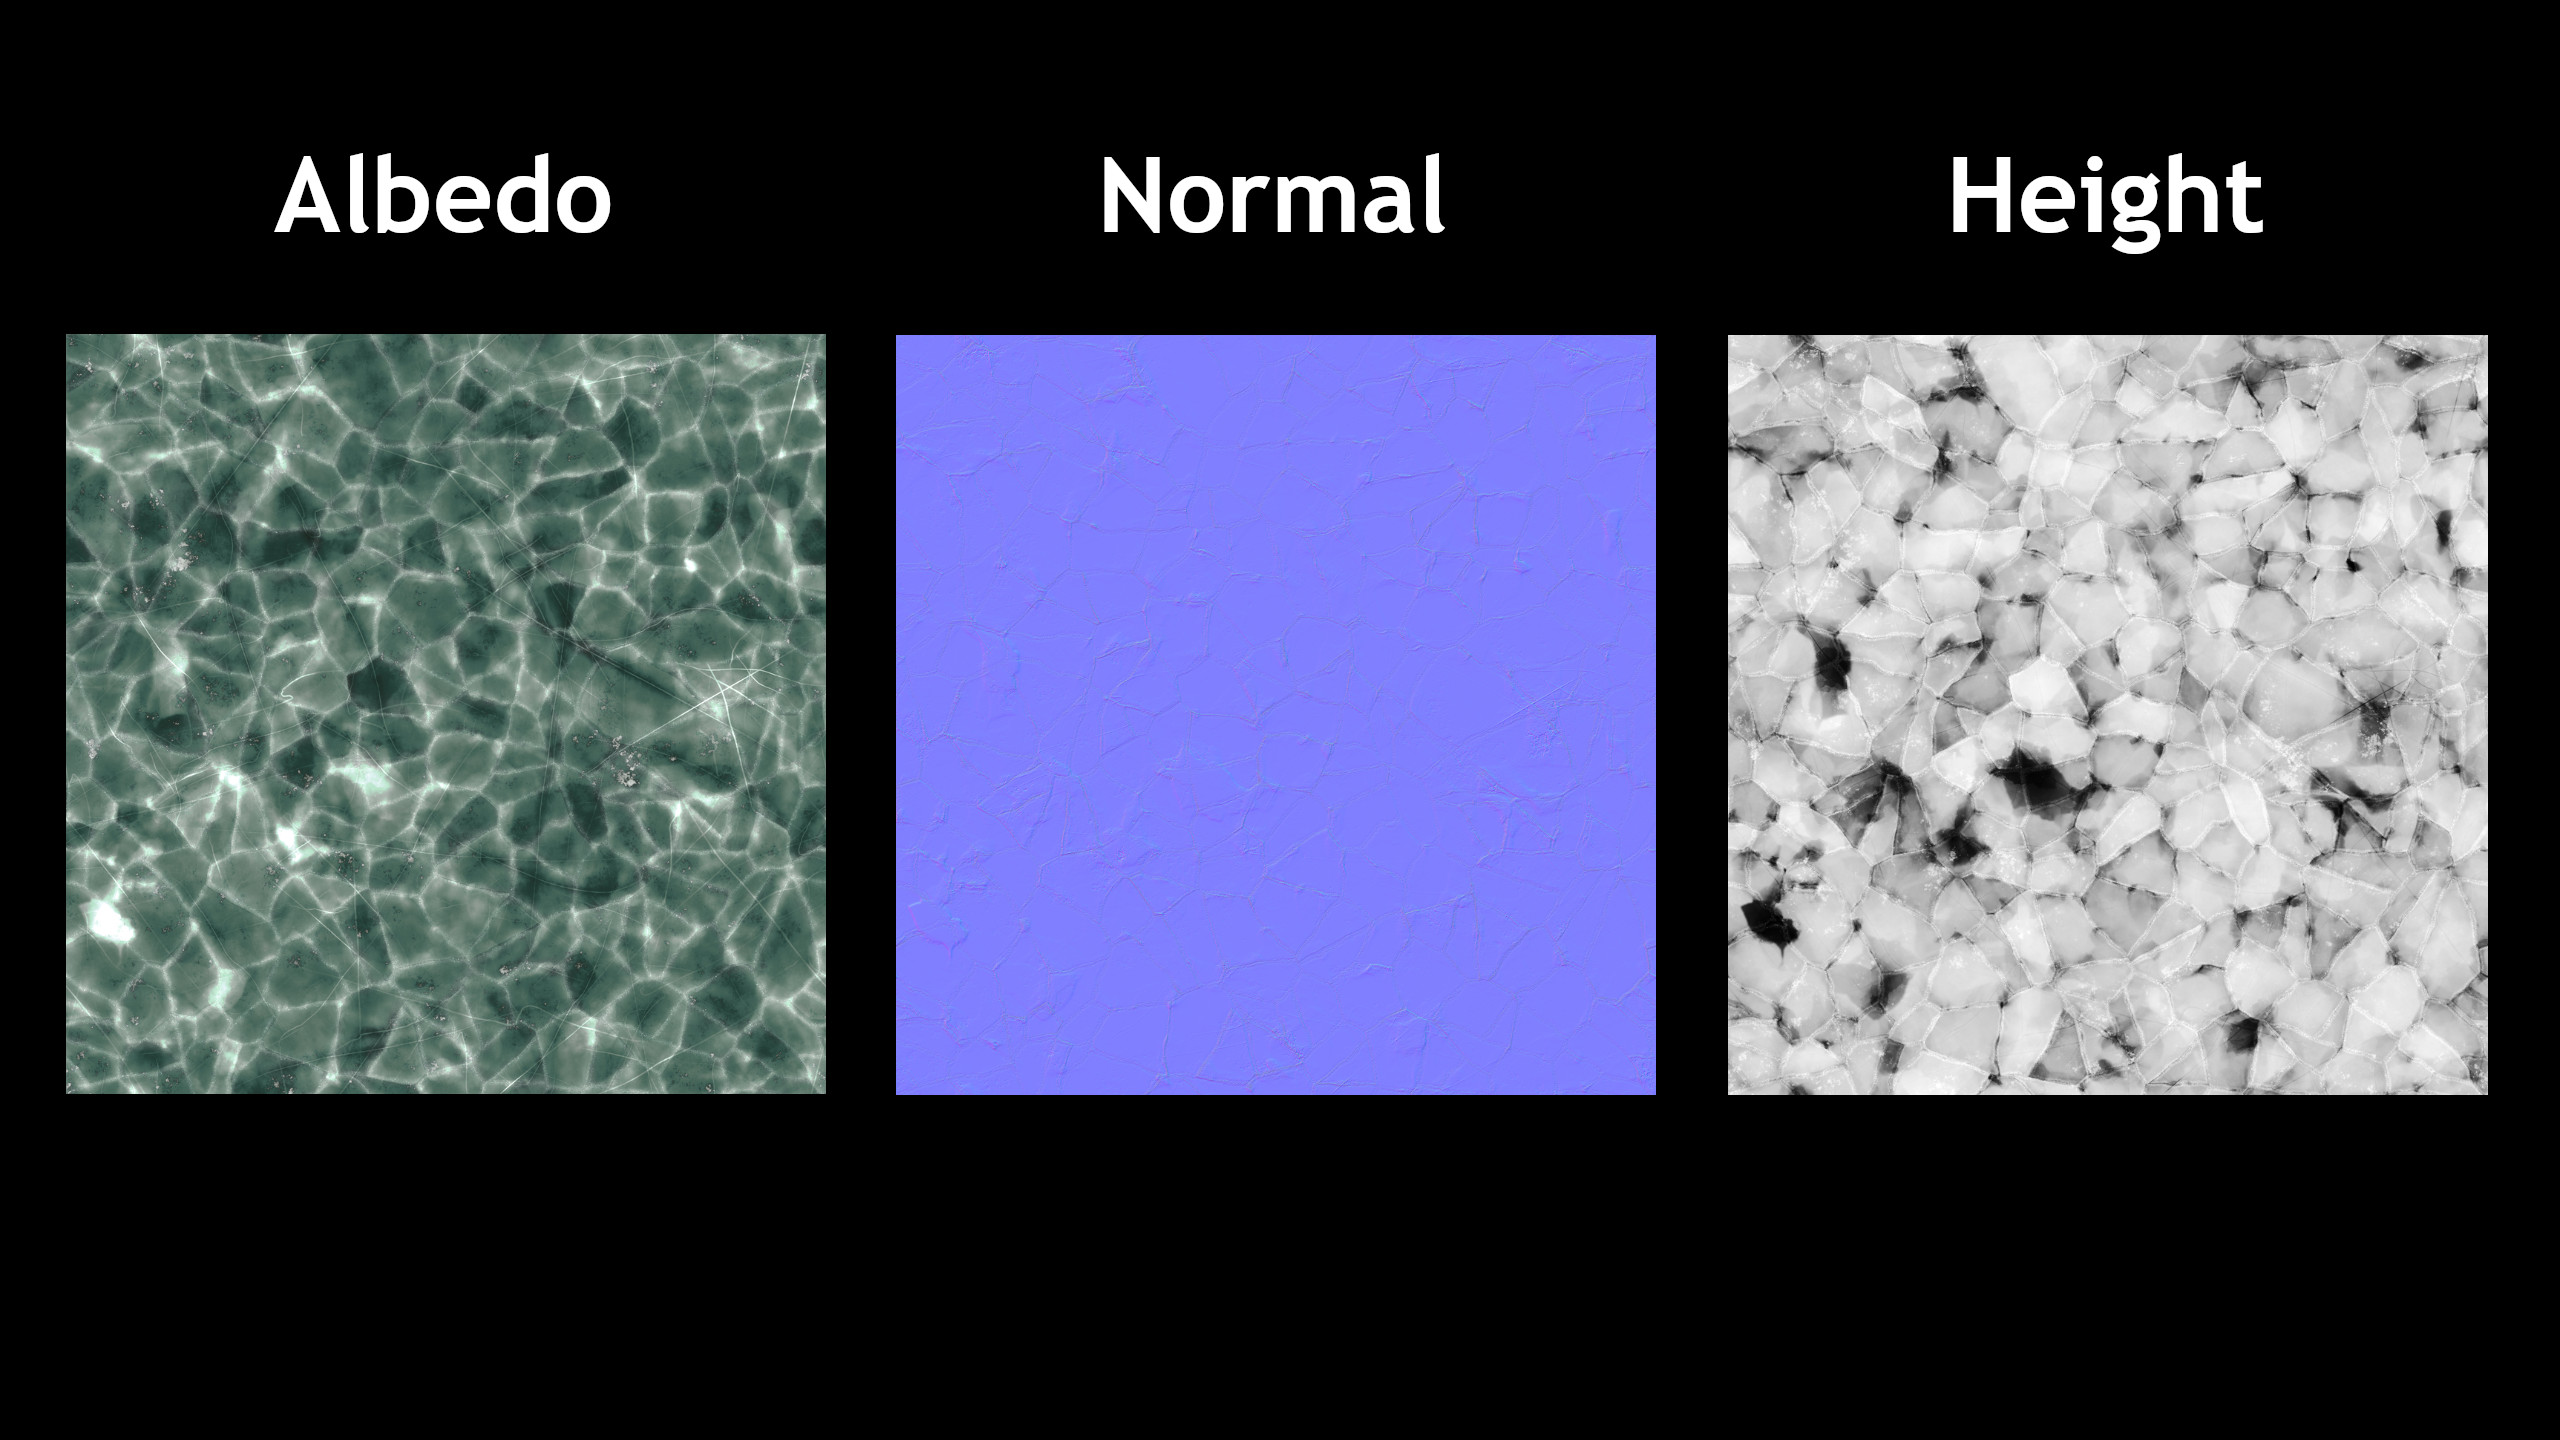
For our shader I will be using three textures for our ice lake for albedo, normal map and height map respectively.
In our shader, first we want to assign our Albedo from the inspector, so let’s create Texture2DParameter node. I will call it MainTexture, In the type dropdown, select Color, because we want to use our texture as color for our geometry.
Now we need to sample the texture for that let’s create Texture2D node. Select Sampler port from the first drop down. and assign our MainTexture’s output in sampler2D. Then take our Texture2D node’s color and feed it into the Albedo.
Ok now to make ice look wet we will set Metallic to 1 and Roughness to 0.
Pretty cool! But our Ice lake kind of look like a flat paper. To fix this let’s use a normal map.
And we want to assign it from the inspector so I will duplicate Texture2DParameter node. Call it NormalMap. In the type dropdown, select normal map, to tell Godot that the texture is a normal map.
We will sample it using Texture2D node. Then take its output and feed it into Normal map. You can also adjust this Normal map depth if you want to control the little bumps. And now our lake no longer looks flat paper.
Now to create an illusion of depth, we will use Parallax mapping node. This node will do the heavy lifting for us.
Now this node is asking for a height map and amplitude, we will provide them both from the inspector. So first let’s create another Texture2DParameter node. I will call it HeightMap. In the type dropdown select Data. Because height map is neither color nor normal map. Then take its output and feed it into heightMap of our Parallax mapping.
Then create FloatParameter node.I will call it Depth. Feed it into amplitude.
Than take our Parallax mapping node’s output to both our MainTexture and NormalMap’s UV slots.
That’s it for our shader, it will look like this at the end.
Now let’s adjust Depth in the inspector and we will have nice illusion of depth in our Ice lake.
Trouble following along? Check out this step by step video!
Thank you so much for reading!


Comments
Post a Comment