Hello everyone, welcome back.
Today we will create Billboard effect using unity's shader graph. For this I have used Unity version 2022.2.10f1 but it will work on any Unity LTS versions.
Let's get started.
What's a billboard effect?
What is a billboard effect, I hear you asked.
A billboard in Unity is the process of representing a two-dimensional sprite or mesh in a three-dimensional space. It typically involves forcing the sprite to rotate with the camera so that, just like in a 2D game, the camera is unable to view the sprite with any perspective.
Billboard is majorly used in particle effects or to create an illusion of detailed 3D geometry with a flat 2D like or low polygon mesh.
With that theory out of the way, let's create a shader graph.
Creating a shader graph
Let's start by creating a shader graph and call it BillBoardShaderGraph, then we double click to open it in shader editor.
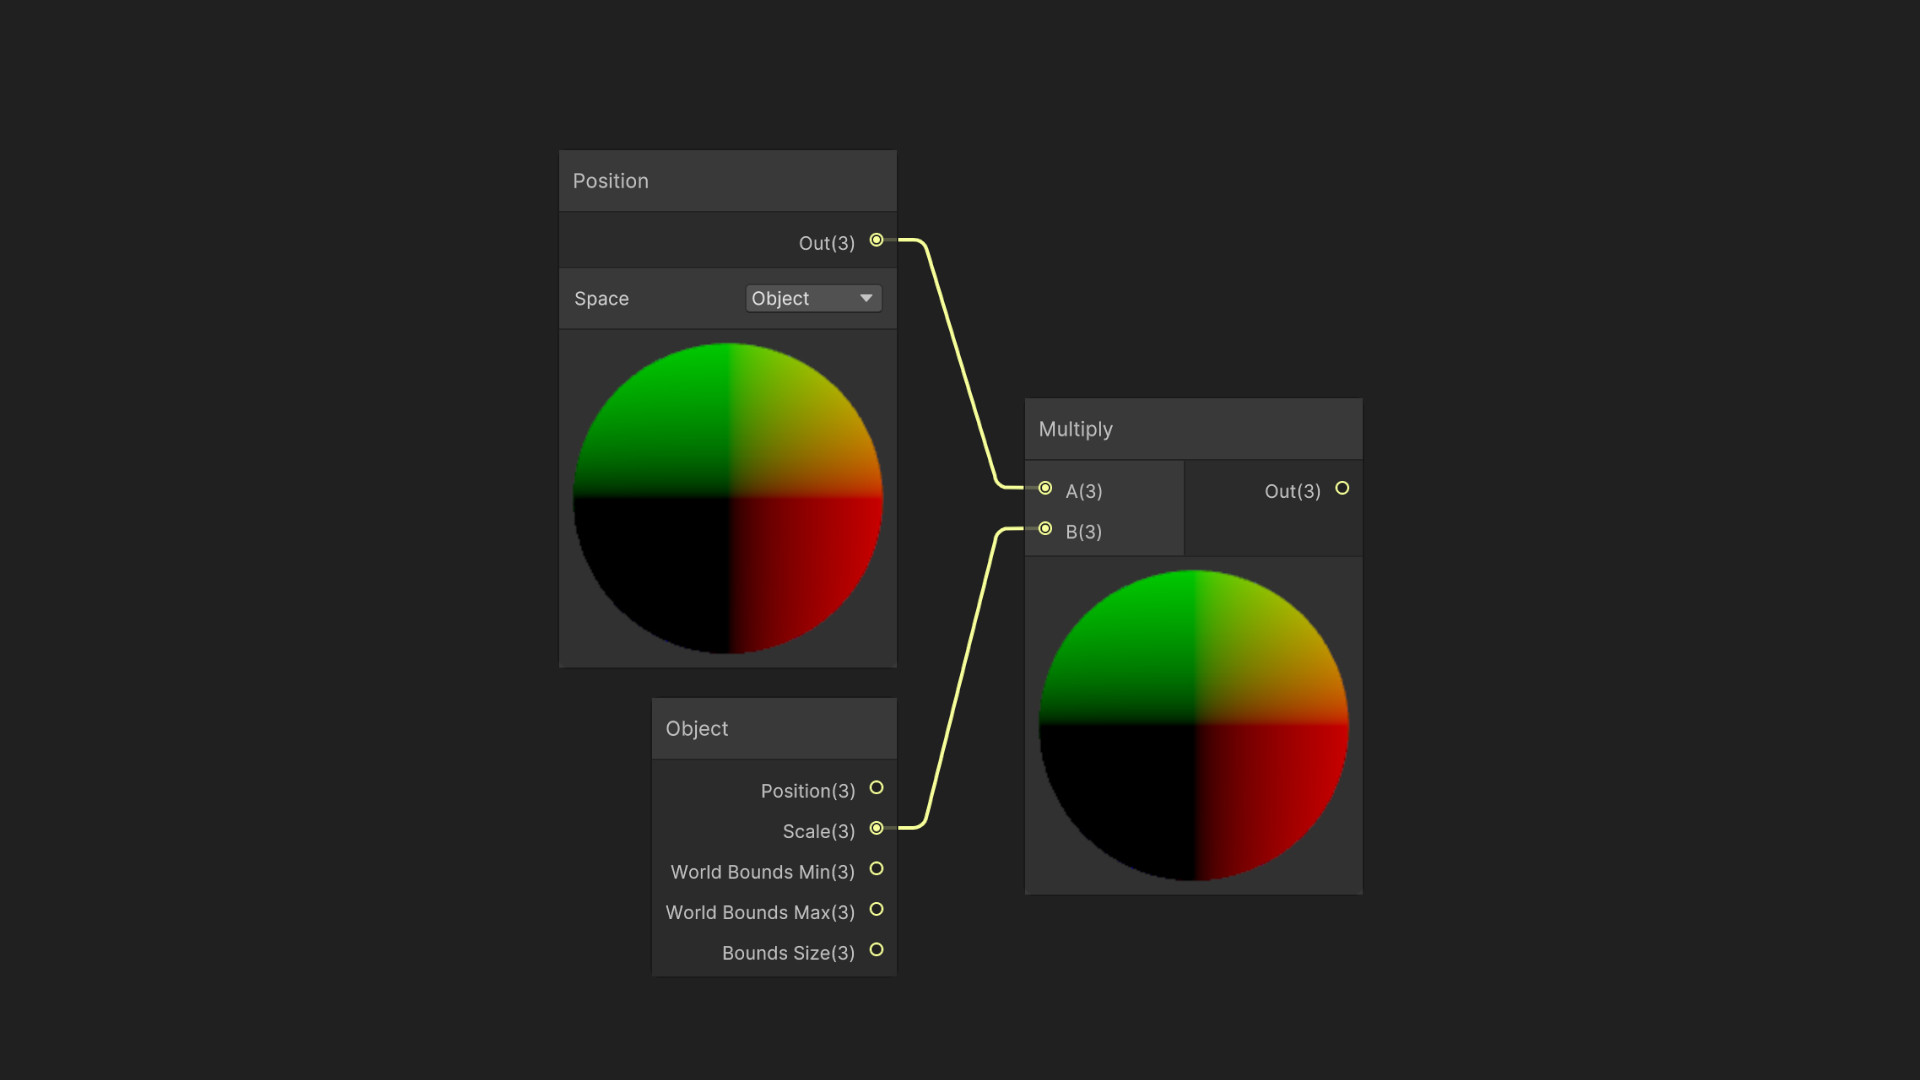
First, we need a Position node to access the position of all our vertices or fragments of our mesh, so create a Position node. We need object position so select the space type Object.
We also need the Position and Scale data of our GameObject, so create an Object node. Don't get confuse about the position here, it will be the position of our Transform in world space, while our Position node give us position of each and every vertices of our mesh.
Then we will multiply our Position node's output with the Object node's Scale. We are just doing that so it will work even if we change the scale of our GameObject. It will look something like this so far.
Then we will create a Transformation matrix node. with the mode InverseView and will multiply it with our scale adjusted position.
However multiply expects a Vector4 but our scale adjusted Multiply only has Vector3, so we will create a Split node and feed our scale adjusted position into it. Then we will combine it as Vector4.
Create a Vector4 node, feed our X(R), Y(G), Z(B) of our Split node into Vector4 node's X,Y,Z respectively and W component we will leave as is on 0.
Then take that output with our Transformation matrix, our graph will look something like following.
Transformation matrix is a little difficult to understand but a quick TLDR is, it is used to perform operation such as Translation, Rotation, Scale, Shear etc on the Vectors.
So in our final Multiply node we will get a rotated vertices position based on our camera view direction. It will be in object space, so no matter where we move our GameObject in the scene view, it will always render at the origin of our world.
To fix this, we will simply add that with our Object node's position.
Now we will have the position of our rotated mesh in World space. We need to feed that into our Master node.
However, Vertex context expects position in Object space, we currently have position in World space, so we need to convert that and to do that we need Transform node, feed our Add output, for conversion select World to Object, and we need position so keep the type Position feed that in Vertex context's Position.
Our final shader graph will look something like this.
That's it! We have created a billboard effect.
Trouble following along? Check out this Video!


Comments
Post a Comment